EMBEDDED ELECTRONICS IN DESIGN

Final Project Journey ( A project which uses electronics and a culmination of all understandings and learnings of electronics embedded in design to save lives by increasing the speed of navigation of ambulances and fire engines in a city )

The journey followed

Problem Identifictaion

The first stage of the project to discover the oppurtunity area to be worked upon

Dumped in all the problem in a huge sheet and then sat down soughing which one could be solved with understandings of electronics and which one would create an impact and help our society.

After Continuous discussions and refinement i arrived at the problem area ” Delay of ambulances, firengines and other emergency vehicles due to heavy traffic in signals and uncooperative commuters where each second matters to the patient and in fire lit areas

Reserach and understanding the Problem

The 2nd stage of the project where we move onto reserach and finding where the actual problem exist and does this problem even exist and how impactful could my invention become for the society.
The amount of delay in ambluance due to high traffic and uncooperative commuters in our country leads to many deaths.
The time taken by patients with acute stroke to reach hospital in ambulance
( where evenfew seconds matter the most )

Analysing the problem and understanding the actual context and possible directions for solving this problem

Understanding the exist traffic managment systems, ambulance working systems and figuring out the loopholes and the possible directions these issues can be tackled.

Design ( Ideations, Prototyping, Form, Electronics )

So now we land up to the most interesting part of my journey in saving lives ” Design “

Ideations

After going through different concepts i decided to work upon with the Internet of Things concpet to solve this problem and also gain a great experience and knowledge in IOT

Finalising on the nesccsesary components and Purchasing them.

Unboxing the componnents and exploring them

( Trying to interface them )

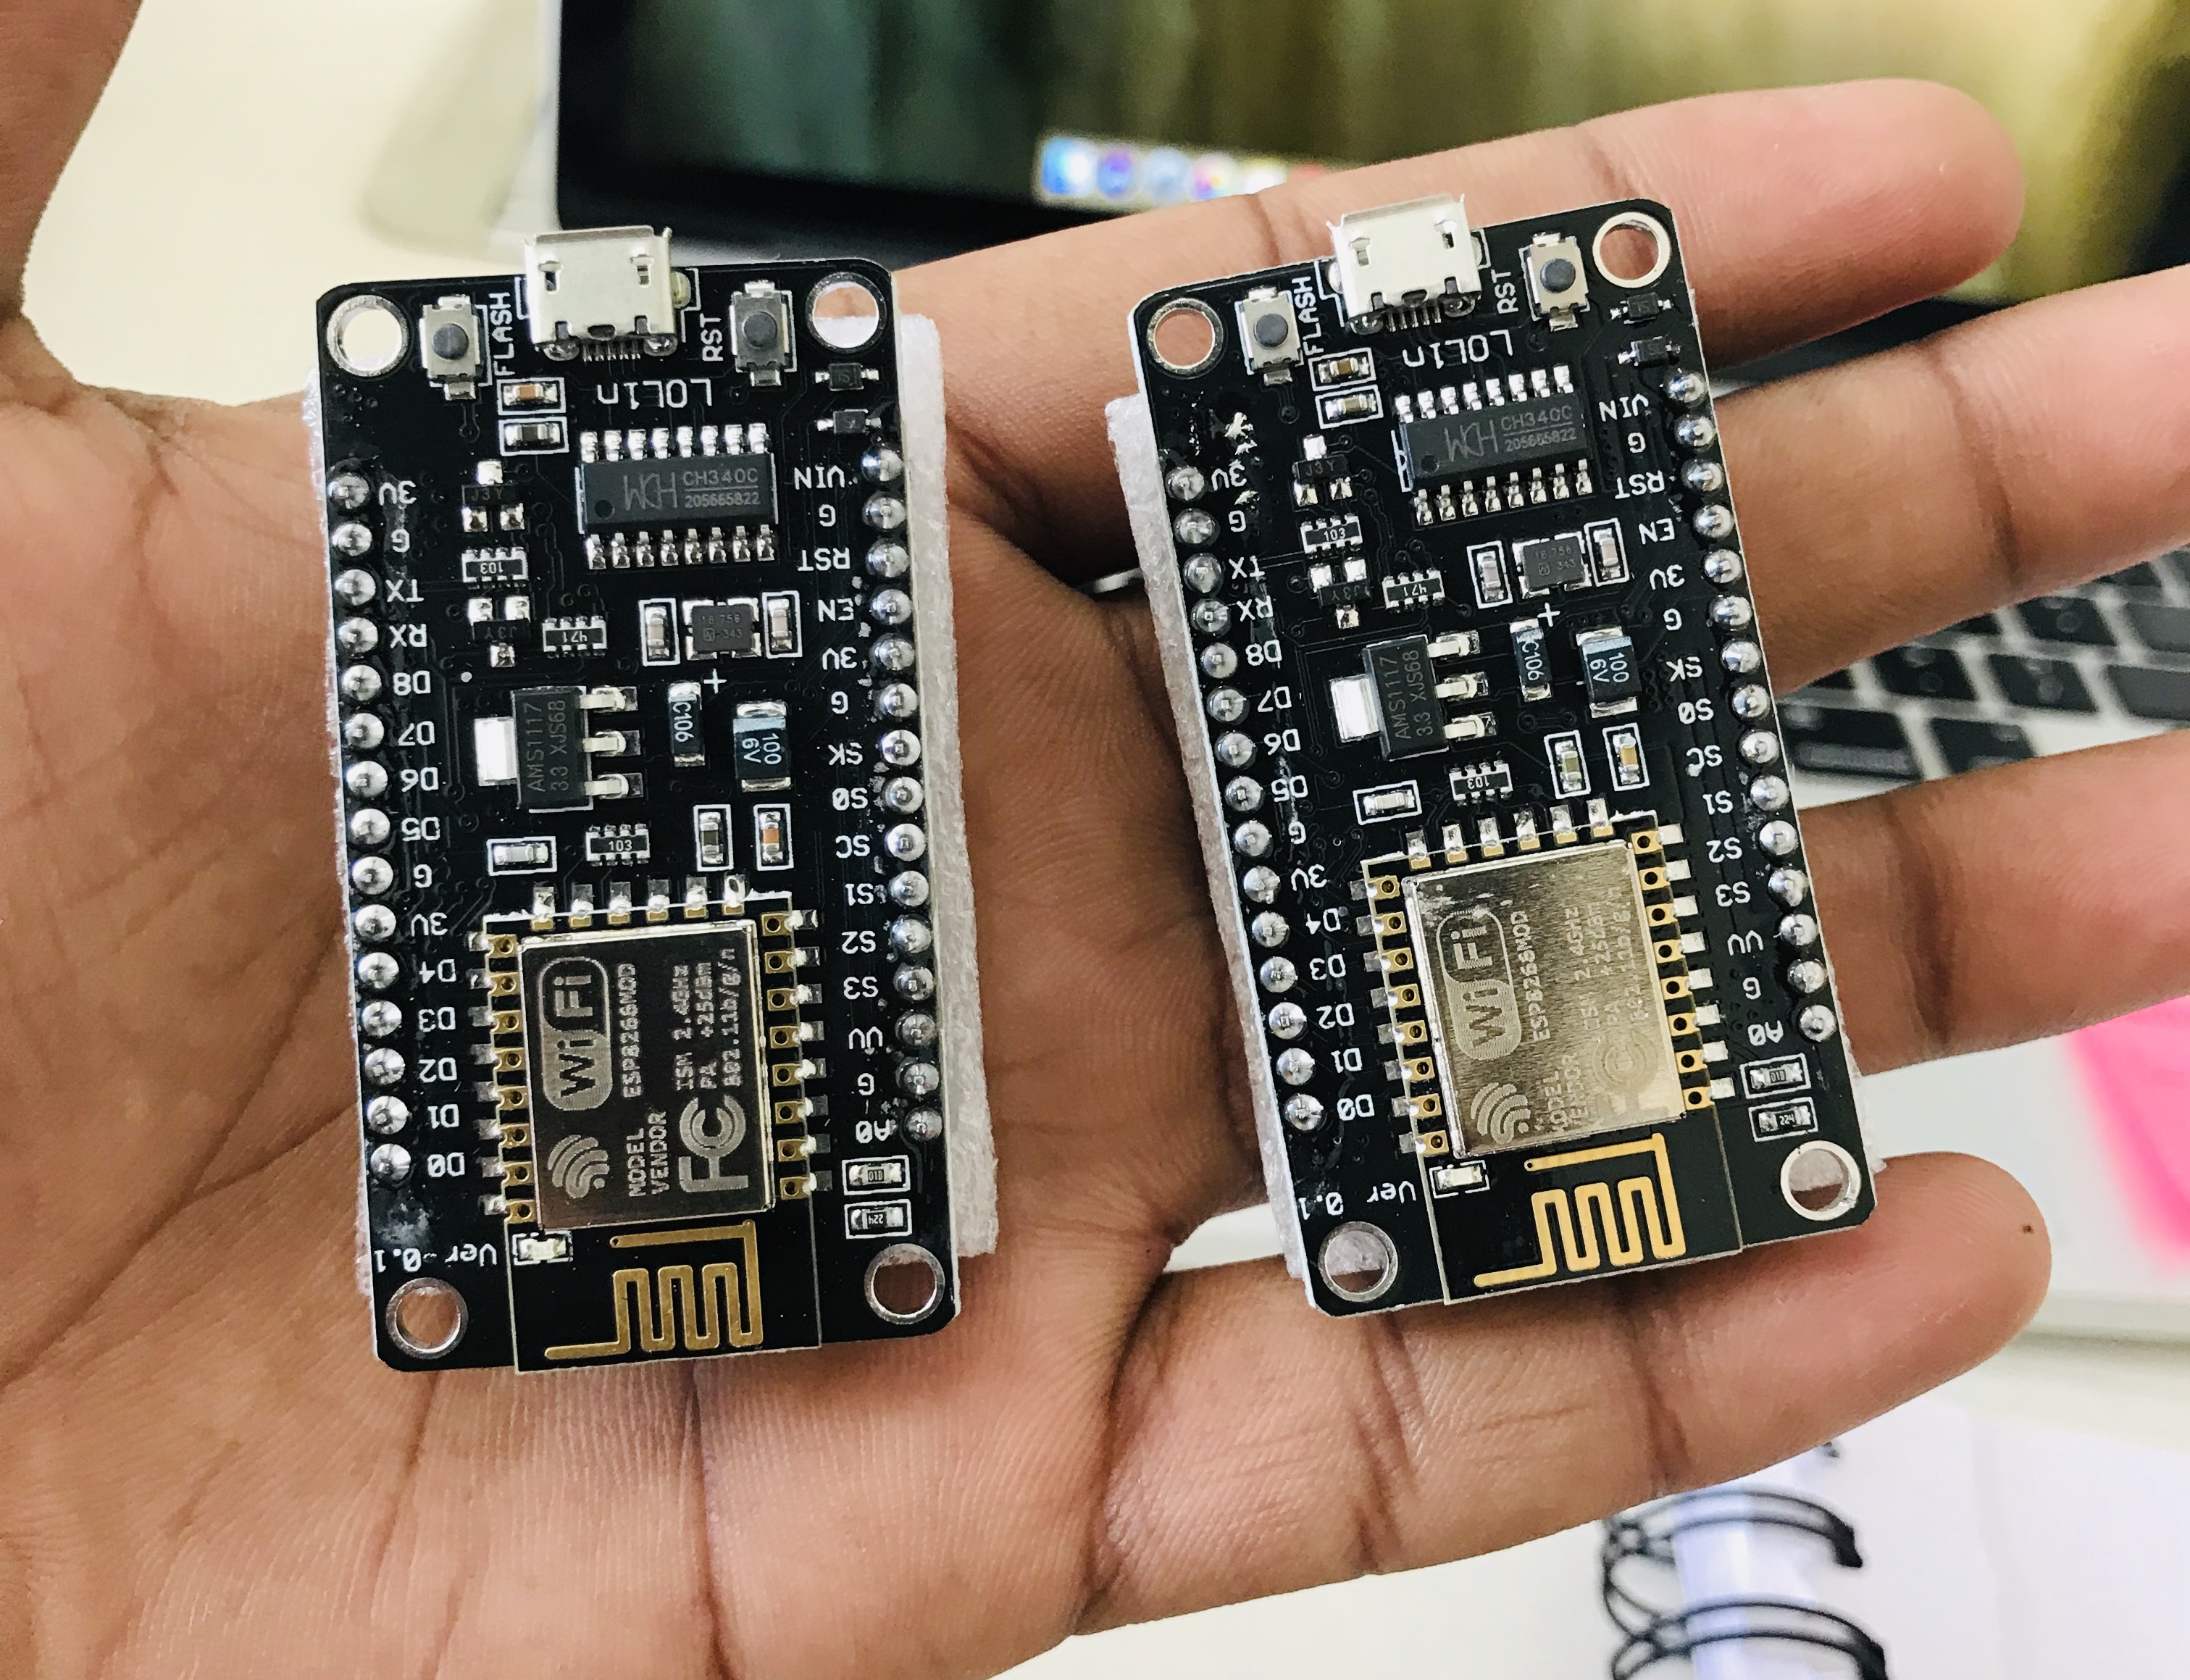
Downloading the required boards, libraries and other pre-requisites to interface NODE-MCU (the component used for IOT)

Getting the pre-requisites done in my laptop to start working with NODE-MCU

What is the code used ?

For the functioning of this concpet it needs the connection of 2 NODE-MCUS’S which would interact with each other.

There are 2 codes where 1 is for the unit in the ambulance which would be trriger ( button ) code and other one installed in the traffiic lights which would control the traffic signal functioning.

Prototyping ( Software)

Bread board model of both the units.

Using Adrafruit to connect both the NODE-MCU’s

After working on the software part of the project, programming both units and got them working with final code uploaded with all the other components now its time to move onto hardware design.

Prototyping ( Hardware )

Now the task is to embed all those finalised electronics (technology) into a meaningful and desired form which help the usability, aesthetics, maintanence of the product

Keeping in mind factors like

  • Being placed in a outdoor envionment, the product should withstand rain, sunlight, pollution .
  • It should be placed at heigth where it cannot be unscrewed and stolen.
  • The form should be in such a way that subtly blends with the existing traffic signal poles, and in the other unit it should be in a way that the users attention directly gets only on that Button.
Components and its wiring and where is it placed

Exploring the arrangement of all the components.

Trying to explore different ways in which

The final components are 1 NODE-MCU, 3 DOUBLE RELAY, 4 VALUE SHIFTER, and some connecting wire

  • Easy servicing and maintanence
  • should not be more than 10 cms in width as the traffic signal poles are of 10 cms
  • overall sleek and subtle form

After finalising the arrangment now we nned to get the dimensions of the form.

Based on the desired arrangment

Form modelling

Refinement of form in workshop.

Decided to work with thermocoal so that I could interact with form and then alter small changes and refinments, to arrive at the desirable form which could fit all the components perfect.

PCB Attachment

After finishing the outer form now its time to integrate alll the tech components together using a zero pcb so that it can fit together as a single inside our form and would be easy to service in case if needed in future.

Soldering the components

Final integration of the hardware and the software

Embedded Electronics In Design DAY-5

Yeah !! Finally, the day has arrived when we were going to get hands-on experience with “ARDUINO”.

Why Arduino?

  • Being open source it is one of the best microcontrollers
  • The person who found Arduino is a designer and the software is very user-friendly and user interface is very easy to use.
  • Coding in Arduino is pretty simple compared to other microcontrollers
  • There is a strong community of Arduino users which is the backbone of Arduino
  • so if we have any queries posting it online might help us as many of Arduino users might be facing similar problems which can be tackled together as Arduino is an open source

Types of Arduino

Let’s check out what all are the components in Arduino and what makes it so powerful and amazing!

The User Interface of Arduino software.

The startup screen
The user-friendly Interface which Arduino special

The different syntax codings introduced today

The first successful coding in Arduino

Embedded Electronics in Design Day-4

Today was the day when we had test all our initial leanings, with only the input and output components and get them into a practical usage and solve a problem.

We all came together with the different problems areas which we had been observing and put them all on the table and chose one problem which could be solved using our basic understanding of electronics and circuits.

The basic components which we went through for the previous 3 days

Brainstorming on different issues and problems

Then I decided to work for blind people, as their everyday life struggles so what if I can create something which could make their everyday life a better place to live.
So after deciding on my problem area I went into ideations and checking the practicality and feasibility of ideas based on my current understanding of electronics and decided on an idea.

The circuit diagram for this specific product to function with basic components

Prototyping the concept and testing the functioning as desired.

We were introduced to soldering, so let’s see how it works?

Soldering machine

Soldering different components onto the zero PCB board is a very interesting process, understanding gravity and how it affects the process and small hacks which could make the soldering process clean and perfect without any errors were one important thing learned.

Embedded electronics in design DAY – 3

One more day with more interesting learnings and takeaways from electronics in everyday life

We moved onto other components and of the basic circuit making

So what’s inside a membrane remote and how it actually works

The remote we are going to open up now.

So the components inside this remote look like this.

How does this remote work?

It has a small black chip like the black drop which has all the programme which helps in transmitting the Infrared data to the infrared receiver and makes our tv watching more convenient.

While closely observing the PCB of this remote I noticed 1 thing, why is all the transmission paths not at right angles but having a slant all the meetings

If these PCB track paths were at right angles the data transfer at high speed might lose some data at sharp corners, so it needs to have a gradual flow of data.

What’s special about an RGB LED?

It can act as an individual red, blue, green colors as well as a mixture of these 3 to create amazing colors

What’s inside a Buzzer and how it functions?

Different components of a buzzer

Embedded electronics in Design Day -2

That’s me getting a hands-on into this new Experience

To an amazing day filled with surprises and nostalgia

Hands on experience into electronics and most of the learnings in 11th and 12th which I felt was just a waste of time at that point meant most today.

Those sleepless nights before the board exams, playing video games between the circuit diagrams of that raw physics book just flashed when all these terms were discussed in the studio today which finally made sense and interested me today.

The eyedrop of Nostalgia

A small note about all the new topics learned today

Identifying the resistance value?


Curious me tried splitting it up and checking out what’s inside?

what I found inside was pretty interesting, it was a cylinder of graphite and plastic covering which had color ink as discussed above


Different ways of connecting resistances together

The 2 ways of connecting resistors and other component based on its requirements are series and parallel.

What’s inside an electric wire? which material is there inside?
Different types of buttons
 
Different types of batteries.
A very interesting way of naming the coin batteries which is easily distinguishable which can be applied in many other streams as well.

Problems faced while working (an opportunity to learn better )

Initially, while working on the breadboard I started by using a cluster of wires which was very confusing and which could lead to more errors probably, so after getting to know the breadboard better and its working I tried using minimum wires to build it.

Embedded Electronics In Design Day-1

It was a new beginning with a totally new experience ahead for the next 3 weeks. Electronics embedded in design, the moment I heard this sentence there were so many thought rushing in my mind, is it going to be about Artificial Intelligence or is it going to be about Internet Of things or it going to Serious electronics and circuits. Let’s see where this 3 week takes me in discovering myself in this aspect

So it all started with great energy and enthusiasm and excitement from our guide Prem Sagar, who enriched us with great inputs about electronics and how being an industrial designer it would impact us.

Prem Sagar (the man behind everything for the next 3 weeks)

Why being an industrial design student I need such exposure to electronics?

  • Awareness
  • Being an industrial design student at every stage of ideations and iteration process knowing the basics of electronics can take my ideations to next level. Knowing the nuances of electronics and the way it functions might help me think better and will definitely increase my umbrella of ideas.
  • This specific learning will definitely help me take my ideas to next level, all ideas which have been in concept level can be taken and made into real-time working prototypes
  • Personally, I like working on projects which have a major impact, projects which will help the social need and different sections of people, so knowing and understanding technology might help me think about it in an economic point of view, how can my products manufacturing price can be reduced so that it can reach the unreached.
  • In the future when I get into industries and work along with engineers, I would be able to actively participate in conversations, suggestions, improvisations and improve my concept at even technological level
  • If I hadn’t taken this opportunity in future I might have not been connected to my project after the ideations and conceptualizing level, in this 3 weeks understanding the nuances of electronics I could be attached with the project even after it gets into the hands of the engineer.
The 3 basic components of any circuits

So being the first day we started with familiarizing ourselves with basic components and terminologies which makes up electronic

Breadboard power supply module
2 Types of wires used in circuits
What’s special in a soft circuit, how does it help us and how does it work?

Working of a soft circuit with a conductive tape

Working of a soft circuit with an 8b pencil ( as pencil contains graphite which is a conductor of electricity )

Design a site like this with WordPress.com
Get started